Sunday 23 May 2010

Final Concept Colour Proposal


Above are three renders to show different colour proposals. Blue for men, purple for women and the black for a corporate design.

Corporate Colour Scheme


A Render to show a corporate style of the product.

Friday 21 May 2010

Final Concept Mark2 Suction


To show how well the product seals to what it is attached to I have take these pictures to it attached to a wall and even the roof.

Final concept Mark2


This time I securely attached the vac formed mould to the seat base with insulating tape which created a more secure connection and stopped the silicone from leaking through the mould, I also died the silicone instead of having plain white silicone.

This model worked very well with a clean line separating the silicone the plastic.

Final Concept Mark1


Above is an image of the final product mark1, it works extremely well, with the core stopping users slouching. The silicone seal creates a secure vacuum and securely attaches the product to the chair. The silicone also sticks to the chair stopping the product from moving about on the chair when the user sits on it.

The process I used to attach the silicone needs some improvement, there was a large amount of silicone that slipped through the mould which did not give the silicone a clean edge

Tuesday 18 May 2010

Manufacturing Process - Part 3


For the outside edge firstly a male model had to be made so again this was done by using the CNC machine, this was then Vac formed to create the female which silicone would be poured into to create the final model. To create this part the vac formed plastic was sealed against part 1 using insulating tape with a wooden insert in the centre to allow a hollow to be left after the moulds were removed.

Manufacturing Process - Part 2


Using the shape used previously I used a sheet 450x450mm to vac form over the shape, I then cut off the excess material and sanded down the edges.

Universal shape


As you can see from the images above, it is a universal shape that fits all sorts of chairs. Any smaller and it would not work as the product would not have contact with the whole chair.

Manufacturing Process Part 1 - CNC Base


Using a Rhino model I cut out a shape using the CNC machine that will create the shape of the base of the product. I will use this shape to Vac form a sheet of 1.5mm plastic over which will be the main part of the product.

V-ray Renders


Thursday 13 May 2010

Final Concept Idea


This is a Rhino image of a final concept idea I am purposing. The middle part of the pad in made from vac forming plastic and the blue material is made from silicone. The middle section is flat with the blue section tapering off and raising the pad by a few millimetres. This different in heights will allow the vacuum to be created while the user sits on the pad. The silicones frictional properties will also help to keep the pad in place.

Universal Attachment

So to make this add-on universal the attachment method is the key. The Vac forming plastic is very easy to work with, it keeps its shape, and is cheap so is a good material choice for the base. To secure the base into place I will try and make a seal using RTV silicone, hopefully by doing this it will make a secure joining force between the chair and the base. The silicone has frictional qualities and creating a seal, theoretically it will create a small vacuum as force is applied to it (the user sitting on the add-on).


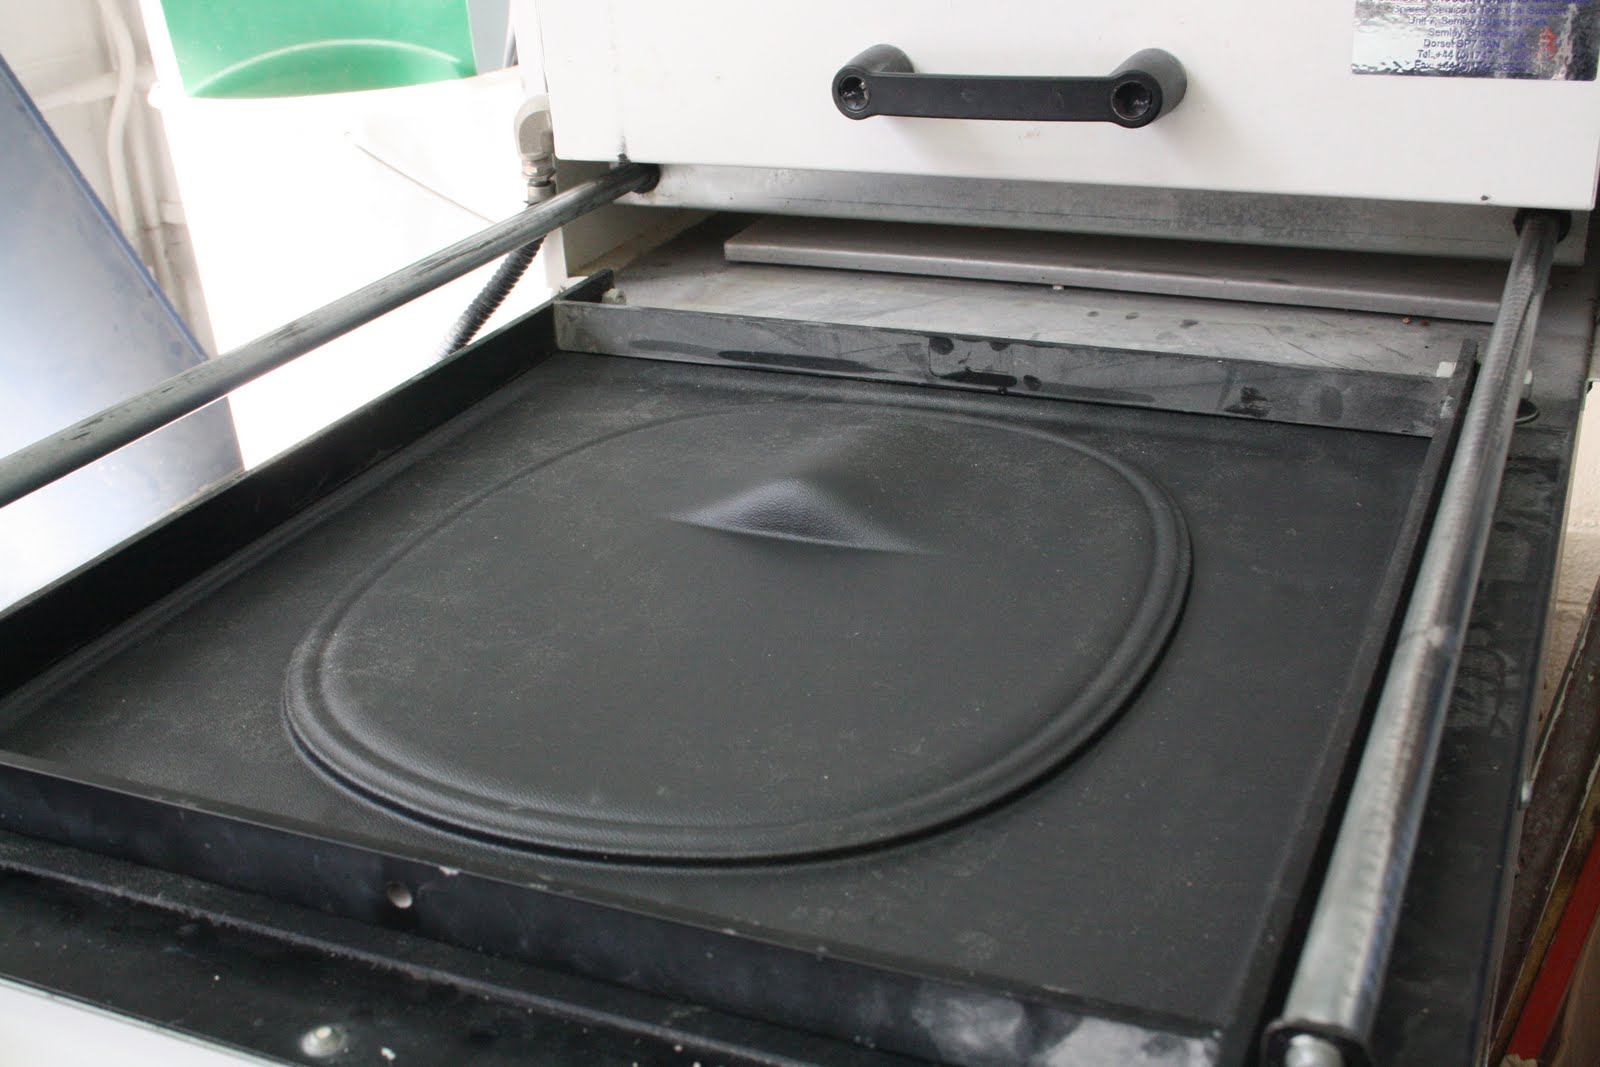
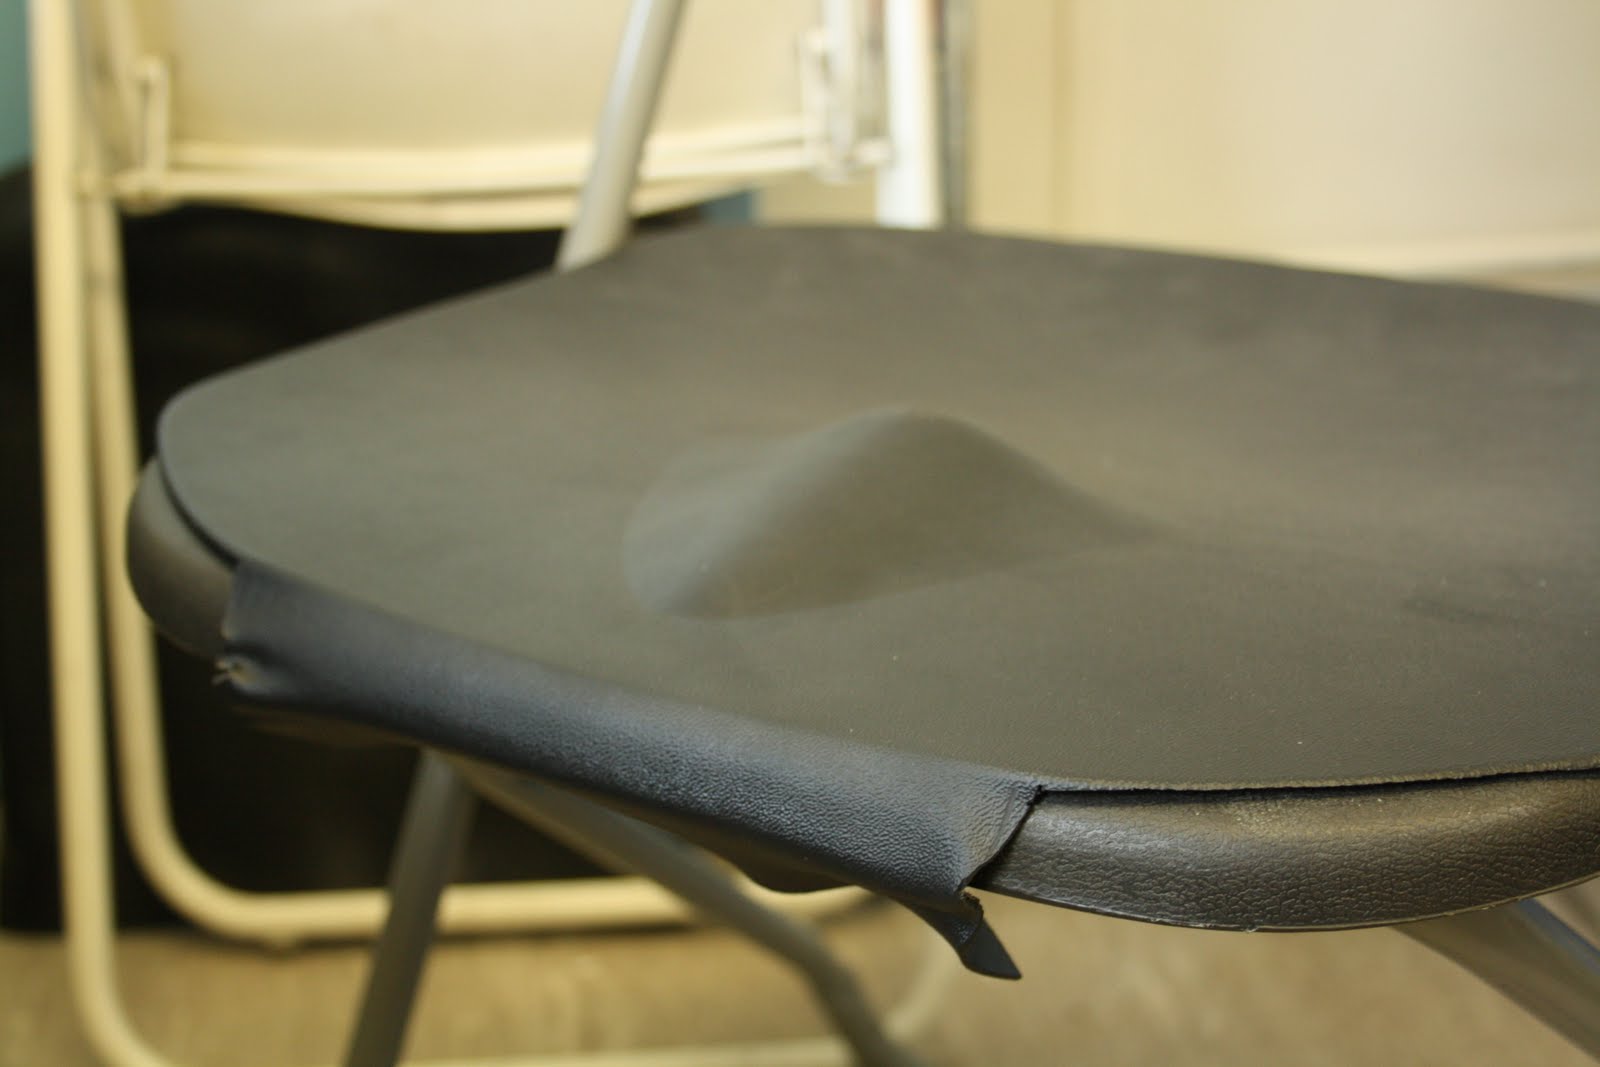
To attempt to create this seal I used a router to cut a small indent 5mm deep into a piece of MDF, this being the mould for the Silicone. I then took a scrap piece of plastic and heated it under the strip heater. I created a wave within the end of the plastic which I will then cover in silicone. The reason for creating the wave is to join the silicone to the plastic, as the silicone alone does not stick.

The result of this experiment worked very well, however i still need to find some kind of adhesive that will join the plastic to the silicone.

Clipping Base


The Velcro method of attachment used in my previous model worked well but however this will not transfer will onto a marketable product. I used the same mould as before but used the excess lips of the base and heated them to form clips around the chair. This provided a sturdy well attached base which became part of the chair when attached.

However well these clips work this method only suits this exact chair, the most effective solution would be something universal, something that will work with all temporary chairs, all chairs with plastic or even wood finished surface bases.

Finalised "Core" shape


The core module that I have decided to use is the one pictures above, its curves are less intrusive and it has a softer overall shape, which I feel will make it work better when thinking of the position it will be in. Again I decided to look at the X frame folding chair and by using 1.5m think vac forming plastic I moulded this around a wooden block which I made using the CNC machine. To get an idea of how the shape would work I simply cut off the edges and used some Velcro to attach the plastic to the seat base. The results were very positive and I can now say that I have found the final form of the “Core” which is the term I will now use for the raised part of the plastic base.

Monday 3 May 2010

Refined Module Shapes


Before I can finalise a solution and the design of the slouch prevention concept the modules had to be refined, making them more uniform and flowing. The two modules above will be produced in the same way as I produced the limpets and by then testing these again in by attaching them onto some seating I will hopefully be able to highlight a winning design of the modules and then go forward with ideas on how to integrate the modules into a existing chair. Whether this is done with fabric, plastics or some kind of rubber, this still has to be looked into.

Web Concept


Above is a concept for the slouch stopping module. The webbing offers a uniform griping method onto the chair, and in the centre the slouch stopping module is positioned in the required position to help stop slouching. By discussing the module in the web this may help view the module as more attractive.